
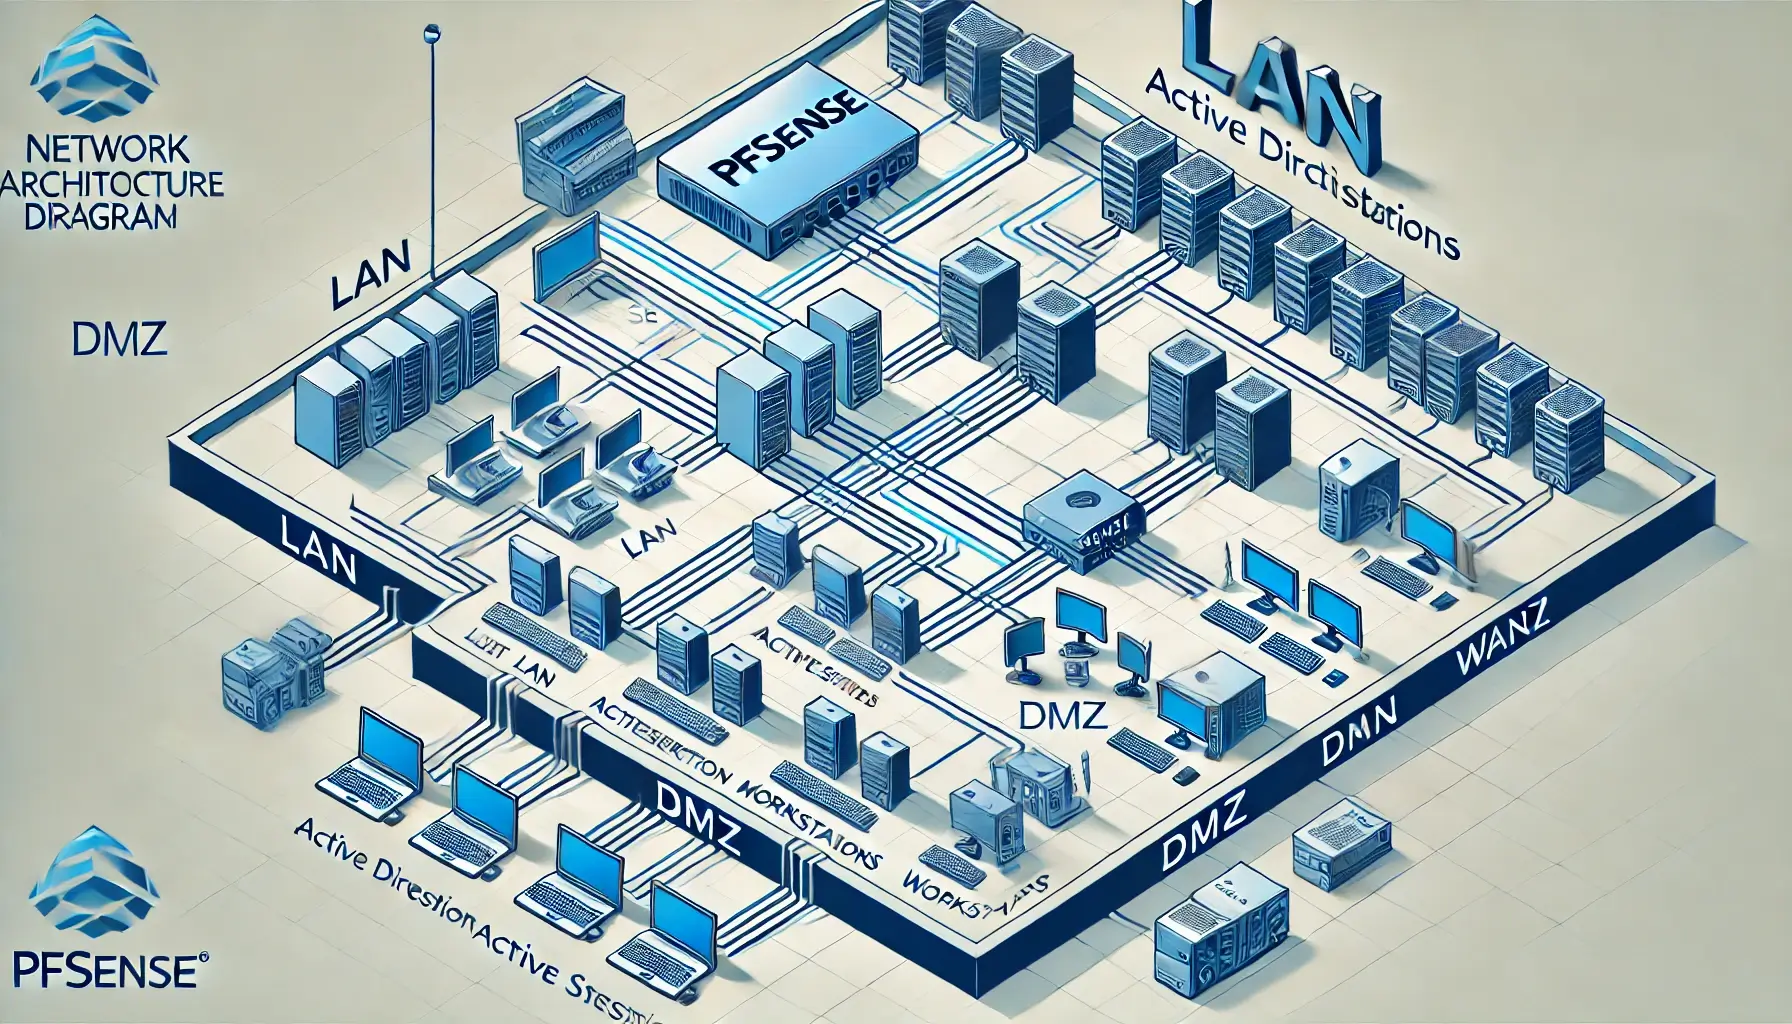
In this blog, I’ll provide an overview of how I built a SOC (Security Operations Center) lab at home, following the guidance from a recent course. The process involved setting up key components such as pfSense for network management, configuring Active Directory for domain control, and implementing Sysmon and CrowdSec for real-time monitoring and threat detection. Along the way, I created a logical diagram to represent the network architecture, which helped me visualize and plan the structure of the lab.
1. Starting with pfSense: The Gateway for My Network
The first step in setting up my SOC Lab was installing pfSense, a powerful open-source firewall and router. pfSense would act as the gateway for all the network traffic, managing connections between my LAN and the WAN (internet).
Key Steps:
- Download pfSense: I downloaded the pfSense ISO and created a new Virtual Machine (VM) in VirtualBox to host the pfSense firewall.
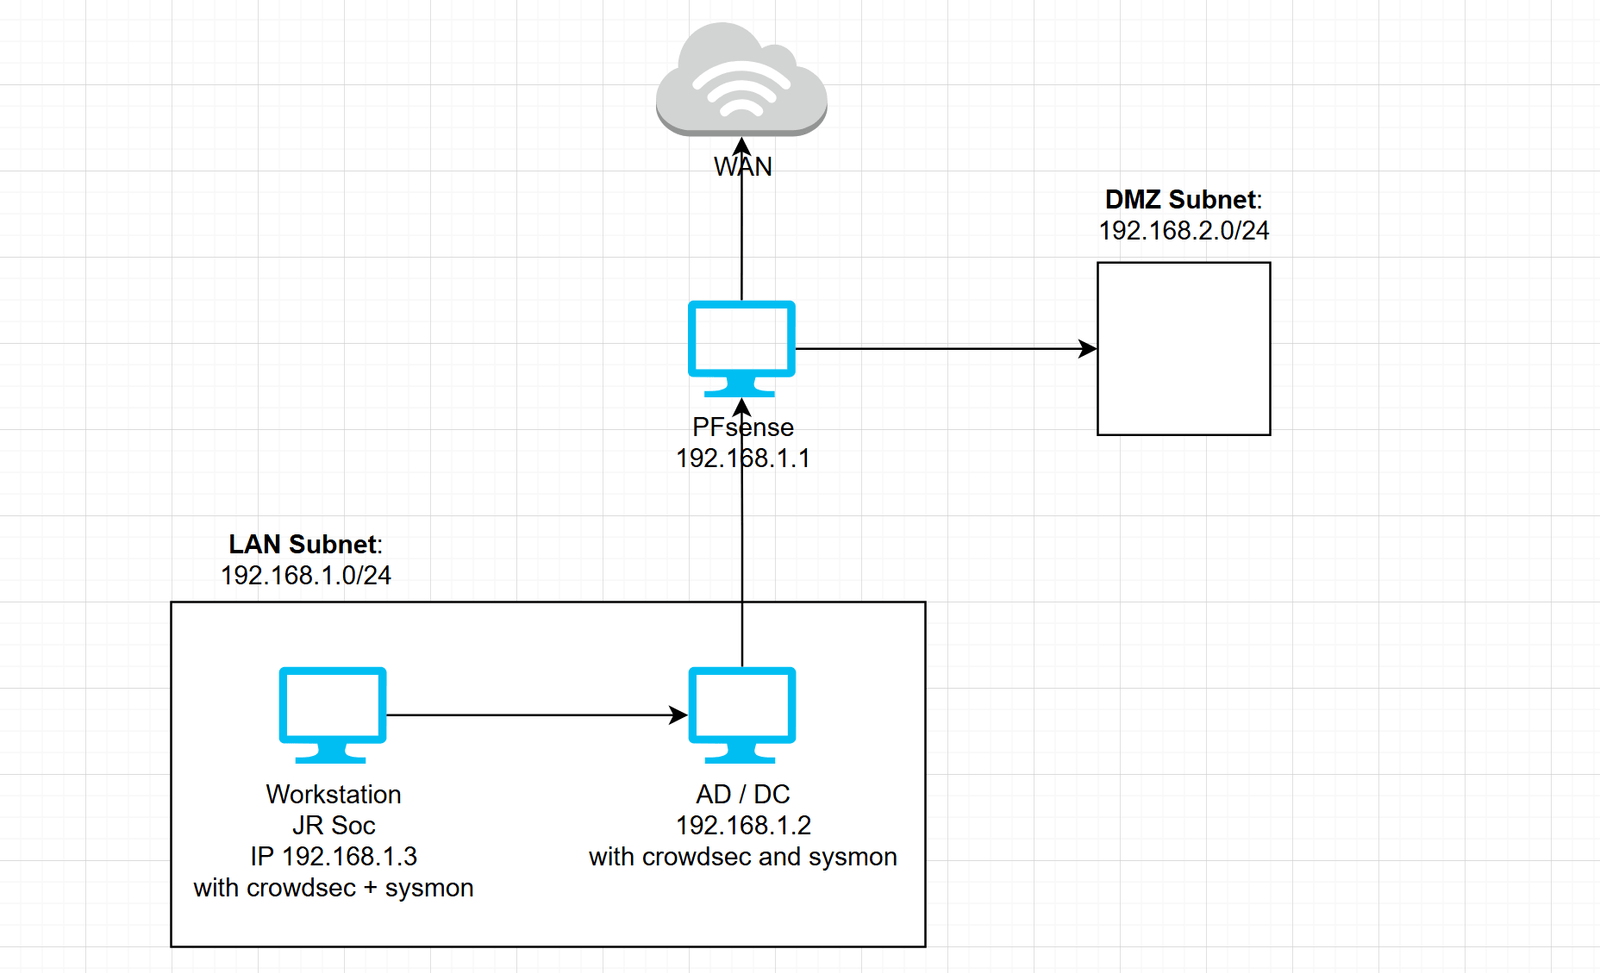
- Network Configuration: After installing pfSense, I configured three network interfaces for pfSense: WAN (for internet access), LAN (for internal network), and DMZ (for any future public-facing services). The LAN interface was configured with the IP address 192.168.1.1/24, while the WAN interface was set up to pull a dynamic IP from my router using DHCP.
Building the Logical Diagram:
- At this point, I created a logical diagram of my network using draw.io, which helped me organize the layout of the network. The diagram clearly showed pfSense acting as the central point connecting the WAN (internet) to the LAN (internal network).
Here’s what the diagram looked like at this stage:
2. Configuring Active Directory: Bringing Identity Management to My Network
Once pfSense was up and running, the next step was to configure an Active Directory (AD) server to handle user authentication and domain management for my internal network.
Key Steps:
- Download Windows Server ISO: I downloaded Windows Server 2022 from Microsoft’s Evaluation Center and created a new VM to host the Active Directory.
- Join pfSense to LAN: I connected the Windows Server VM to the LAN network that I had set up earlier in pfSense.
- Configure Static IP: I assigned the Active Directory server a static IP address (e.g., 192.168.1.2), which was part of the LAN subnet (192.168.1.0/24).
- Promote to Domain Controller: After installing Windows Server, I promoted the server to a Domain Controller by installing the Active Directory Domain Services role. This created a domain that would be used for managing network devices and users.
3. Downloading BadBlood: Preparing Active Directory for Security Tests
After setting up Active Directory, I was ready to simulate an environment with some realistic misconfigurations and test potential security scenarios.
Key Steps:
- Download and Run BadBlood: I downloaded BadBlood, a tool used to populate Active Directory with dummy data for analysis. This would help me simulate a typical AD environment with multiple users, computers, groups, and organizational units (OUs).
- Invoke-BadBlood: After extracting the BadBlood tool, I ran the
Invoke-BadBlood.ps1script from PowerShell to populate the Active Directory with thousands of objects, providing a realistic test environment for security monitoring tools.
At this stage, my AD server was populated with 2500 users, 100 computers, 500 groups, and OUs, making it a great testbed for monitoring and security analysis.
4. Spinning Up the Workstation and Joining It to the Domain
With the Active Directory configured, the next step was to set up a workstation and connect it to the domain managed by the AD server.
Key Steps:
- Install Windows 10: I created a new Windows 10 VM and assigned it a static IP address (e.g., 192.168.1.3), making sure it was on the same LAN subnet.
- Join Domain: After configuring the workstation, I joined it to the domain by going to System Properties and entering the domain name (e.g., wired.local). I provided the domain administrator credentials to add the workstation to the network.
Now, the Workstation was part of the same domain as the AD/DC, allowing for domain authentication and management.
5. Installing Sysmon and CrowdSec: Enhancing Security Monitoring
Finally, to complete the lab, I installed two powerful tools on both the Active Directory server and the Workstation to enhance security monitoring:
a. Sysmon:
- Sysmon was installed to monitor system events, such as process creation, file modifications, and network connections. This tool generates detailed event logs that can help detect suspicious activities.
b. CrowdSec:
- CrowdSec was also installed on both the Workstation and Active Directory server to detect and block malicious behavior in real-time. It analyzes system logs for signs of attacks (like brute force attempts or credential stuffing) and blocks malicious IP addresses.
Conclusion
By the end of this course, I had successfully set up a SOC Lab at home using pfSense for firewalling, Active Directory for domain management, and security tools like Sysmon and CrowdSec for real-time monitoring and threat detection. The logical diagram helped me visualize how each component interacted with one another, from the LAN to pfSense and the DMZ.
After completing the course and finishing the setup, I went ahead and deleted all of the VMs to reset my environment.
This setup provides a solid foundation for simulating and responding to potential threats, making it an excellent learning environment for anyone interested in cybersecurity and network defense.


Leave a Reply